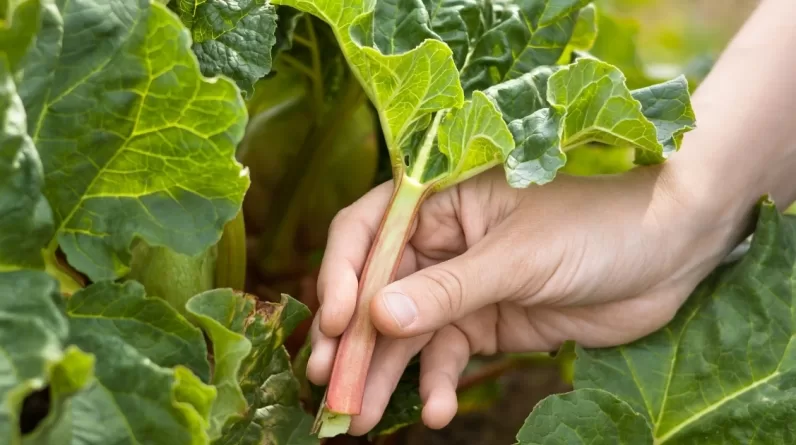
It is said that February is the shortest month of the year. Yet winter is endless and spring still seems far away. Did you know that this time of year is ideal for preparing your vegetable garden? It’s the perfect time to start your seeds indoors. Have you ever thought about germinating your potatoes before planting them?

Choosing the right potatoes to sprout
Before you begin, you must select the type of tubers to germinate. Three options are available to you:
1. Use Potatoes You Grow
If you already have potatoes at home, why not use them? It is even possible to use potatoes from the previous year to germinate them. Simply dig up your potatoes about 4 weeks before harvest and store them in a cool, airy place, protected from frost, until the following spring.
2. Buy potatoes at the grocery store
When shopping in the supermarket, you can choose to buy sprout-free potatoes and then sprout them. Be aware that the varieties in the grocery store may have undergone an anti-germinative treatment. Growers often use it to prevent or delay germination during vegetable storage.
3. Buy tubers to germinate at a garden center
It is possible to buy a bag of potatoes to sprout at a garden center or order the variety of your choice online. These tubers to germinate are intended for planting and not directly for consumption. This is why we think this option remains your best choice
Preparation
In February-March, it is time to start germination. You will need small seedling pots or simply an egg carton. Add seedling and sprout compost to half of your pots or egg cartons. Then place the potatoes in the middle of the pot, pressing lightly so that the tubers are in good contact with the soil. Larger ones can be cut in half, taking care to place the cut side down. Also, make sure to place the eyes (small hollows where germs will come out) facing up. Lightly spread potting soil around the tubers to maintain humidity, which will encourage germination.
Germination
Temperature and brightness are two key elements to ensure your success. So place the potatoes in a cool, bright place. The ideal temperature for germination is between 10 and 15° C. A location that is too dark could discolor the tubers and an environment that is too cold would cause tuber deformation. It might even prevent them from germinating. A well-lit garage (under a window), conservatory, or cold greenhouse are good choices for storage during germination.
The germination process usually takes 4 to 6 weeks. Monitor germination from time to time and take care to remove any potatoes that tend to soften. During this time, you should see vigorous green sprouts appear on each potato. When they are about 2 to 3 cm (½ to 1 in.) long and have a more purplish color, the tubers are now ready to plant.
For large potatoes at harvest, take each tuber and gently rub them with your fingers to remove the smallest sprouts. However, leave the largest and strongest sprouts. These will produce larger potatoes. It is possible to keep your tubers as is without rubbing them. You will then simply get smaller potatoes.
Planting
In April-May, when the risk of frost is over and the soil temperature is around 10°C, you can then plant sprouted potatoes. The flowering of the lilac is a good landmark
1. Plant the potatoes approximately 3 to 7 cm (1 to 3 in.) deep, spacing them 30 to 45 cm (12 to 17 in.) apart. You can leave them whole or cut them into pieces. On the other hand, make sure that each piece has a germ. The potato is a very greedy vegetable; it is therefore preferable to add Biosol compost to the bottom of the planting hole. Take care to orient the sprouts upwards and gently cover them with potting soil, being careful not to break the sprout. For best results, use 3/1 vegetable garden soil.
2. Hilling up potatoes is important. It prevents your potatoes from being exposed to light, which would cause them to turn green and make them unsuitable for consumption. Butter the first time when planting but do not hesitate to redo the mounds once or twice during growth. To do this, bring the soil towards the base of each plant (on all sides).
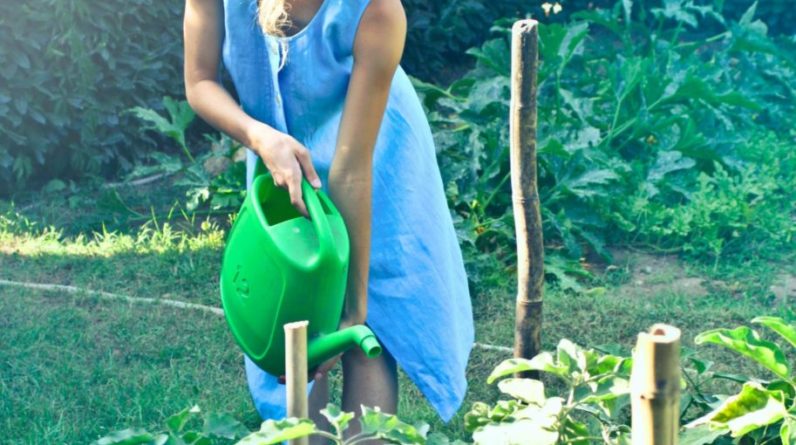
3. Water in the form of fine rain to avoid compacting the soil too much and uncovering the tubers.
4. When the flowers are completely dried out and the foliage is yellowed, it’s time to harvest your tasty vegetables.