No, bulb lasagna cannot be eaten, but its smell is just as exquisite… and it lasts much longer! In fact, “preparing” a lasagna of potted bulbs in the fall, around mid-October, is a wonderful way to enjoy magnificent flowering the following spring.
What is bulb lasagna?
Also called ” layered bulb planting “, the idea behind this technique is to plant different varieties of spring bulbs in layers, each covered with soil. They will flower in turn in early, middle, and late spring. (The upper layer will flower first.) In doing so, over time, the species will gently cross and open in procession for a colorful and fragrant planter to the rhythm of nature’s awakening.
3 winning flower combinations!
For your first attempt, it would be wise to start with mixtures that have already proven themselves. It is best to choose a variety of bulbs with different sizes, colors, and textures.
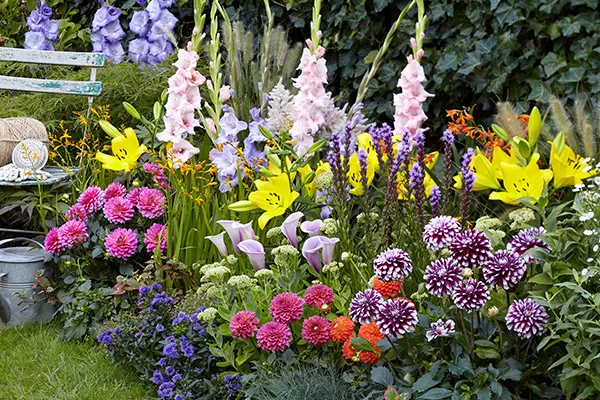
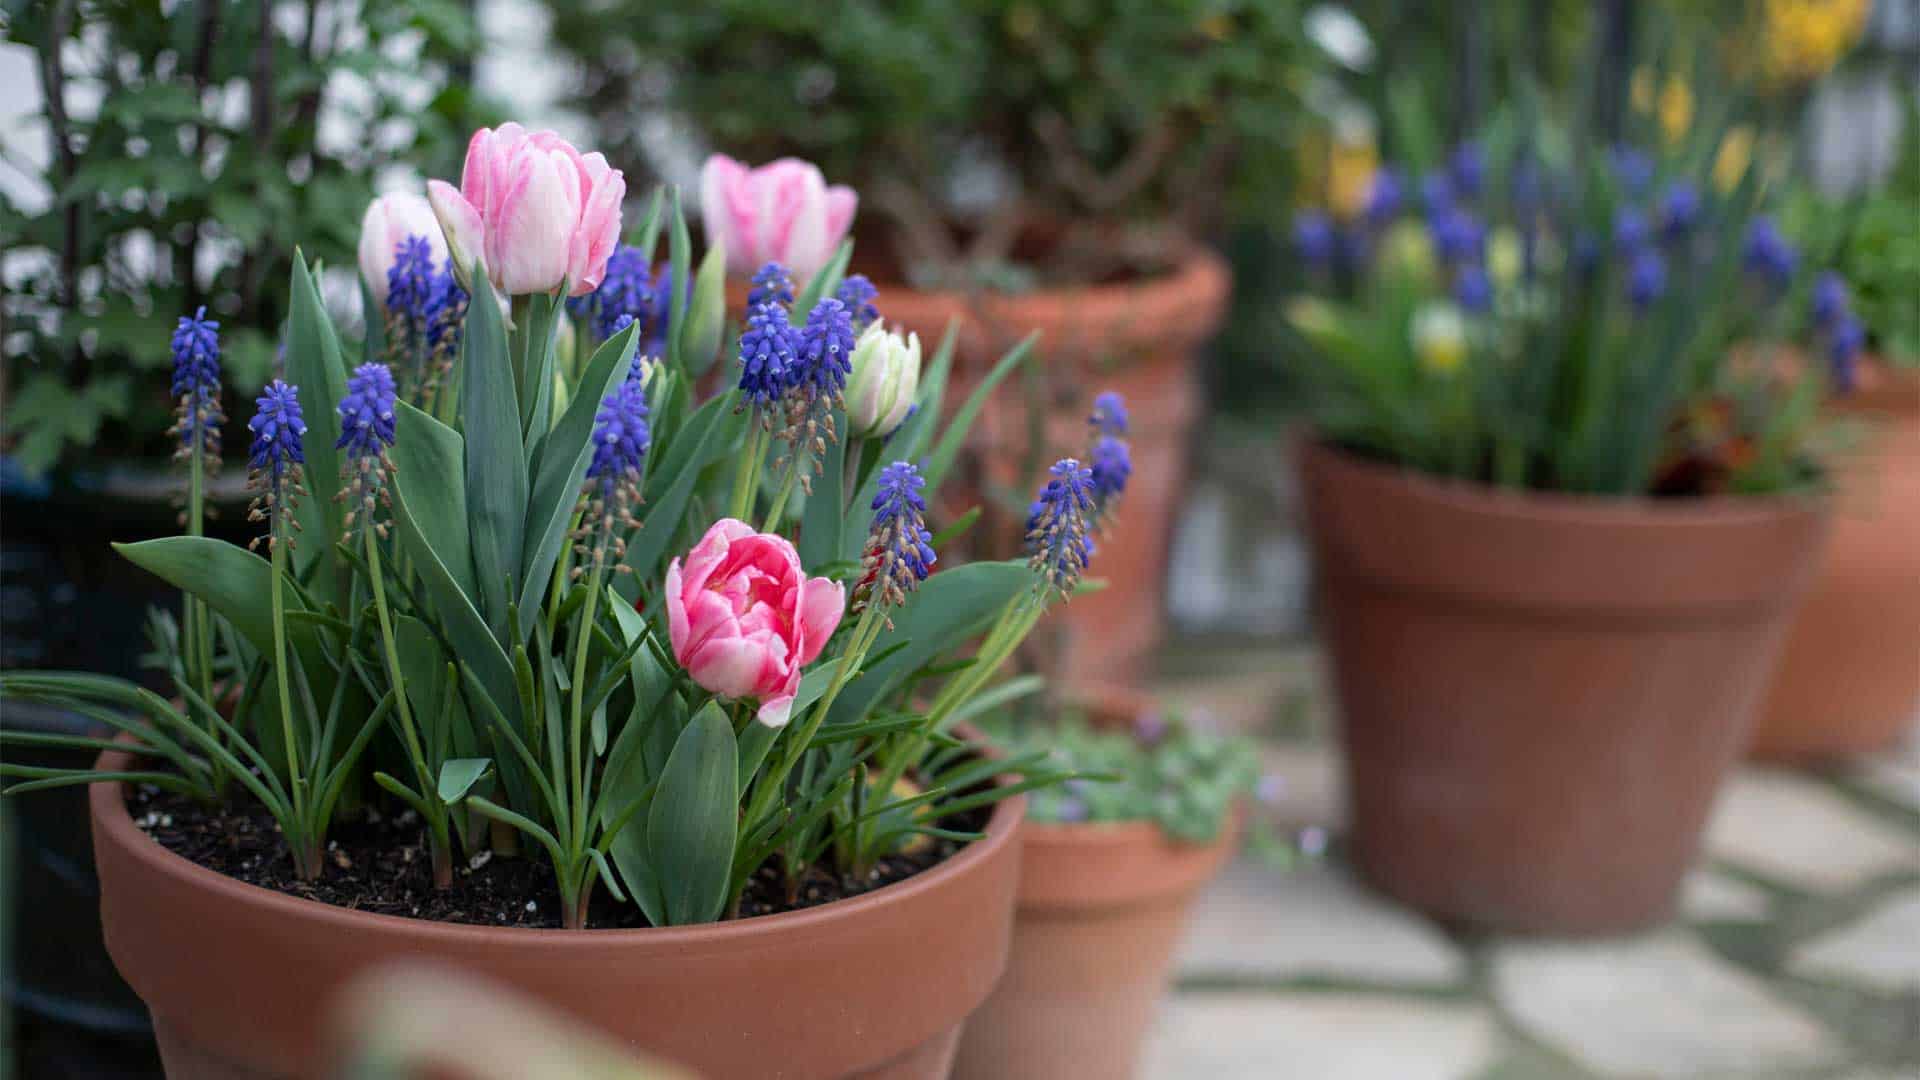
Tulips, daffodils and hyacinths
For example, use tulip bulbs for the bottom row, daffodils in the middle, and grape hyacinth on top since they will be the first to bloom. This combination is an excellent choice to make sure you don’t make a mistake!
Hyacinths, narcissus and crocuses
Another beautiful floral combination is to first place the hyacinths at the bottom, continue with the daffodils in the center, and finish with the crocuses (smaller bulbs) at the top.
Tulips, hyacinths and snowdrops
A mixture of the first two combinations can also be done very well. Start with tulips, followed by hyacinths and snowdrops for a result that is sure to satisfy you.
How to prepare your lasagna… with bulbs?

Making a bulb lasagna involves several steps, but it is not complicated, rest assured. To do this, here are some steps to follow to guarantee success that you can feel come spring!
- When you buy your bulbs from a garden center, choose them wisely. Look at the packages; they usually tell you when in spring they bloom.
- Opt for a plastic container with drainage holes.
- Add a layer of Potting Soil containing Veranda Ⓡ to the bottom of the pot.
- Place a layer of large bulbs scheduled to flower in late spring (pointed ends toward the sky) and cover them with another layer of potting soil about 2 inches (5 cm) depending on the size of your pot.
- Repeat step 4 to add your medium-sized mid-spring bulbs, followed by a layer of small early-spring bulbs. Add the Transplanter fertilizer with a ground bone to each layer. Finally, cover with about 1 inch (2.5 cm) of potting soil.
- Dig a hole in your flowerbeds and insert the plastic pot for the entire winter season. Cover the container with mulch to protect your bulbs over winter.
- In spring, as soon as the ground has thawed, take the container out of the hole and insert it in a decorative pot in the sun in the desired location
There you go, you got there in a jiffy! Don’t hesitate to carry out this excellent gardening project with the children when the weather is still nice in September and October. You will have a good time with your family and you will be able to enjoy the fruits of your efforts as soon as the bud season returns.